
DIY
Wallpaper Installation Tips: Your Expert Guide to a Flawless Finish
The Tehila Maison Team · August 8, 2026 · 11 min read
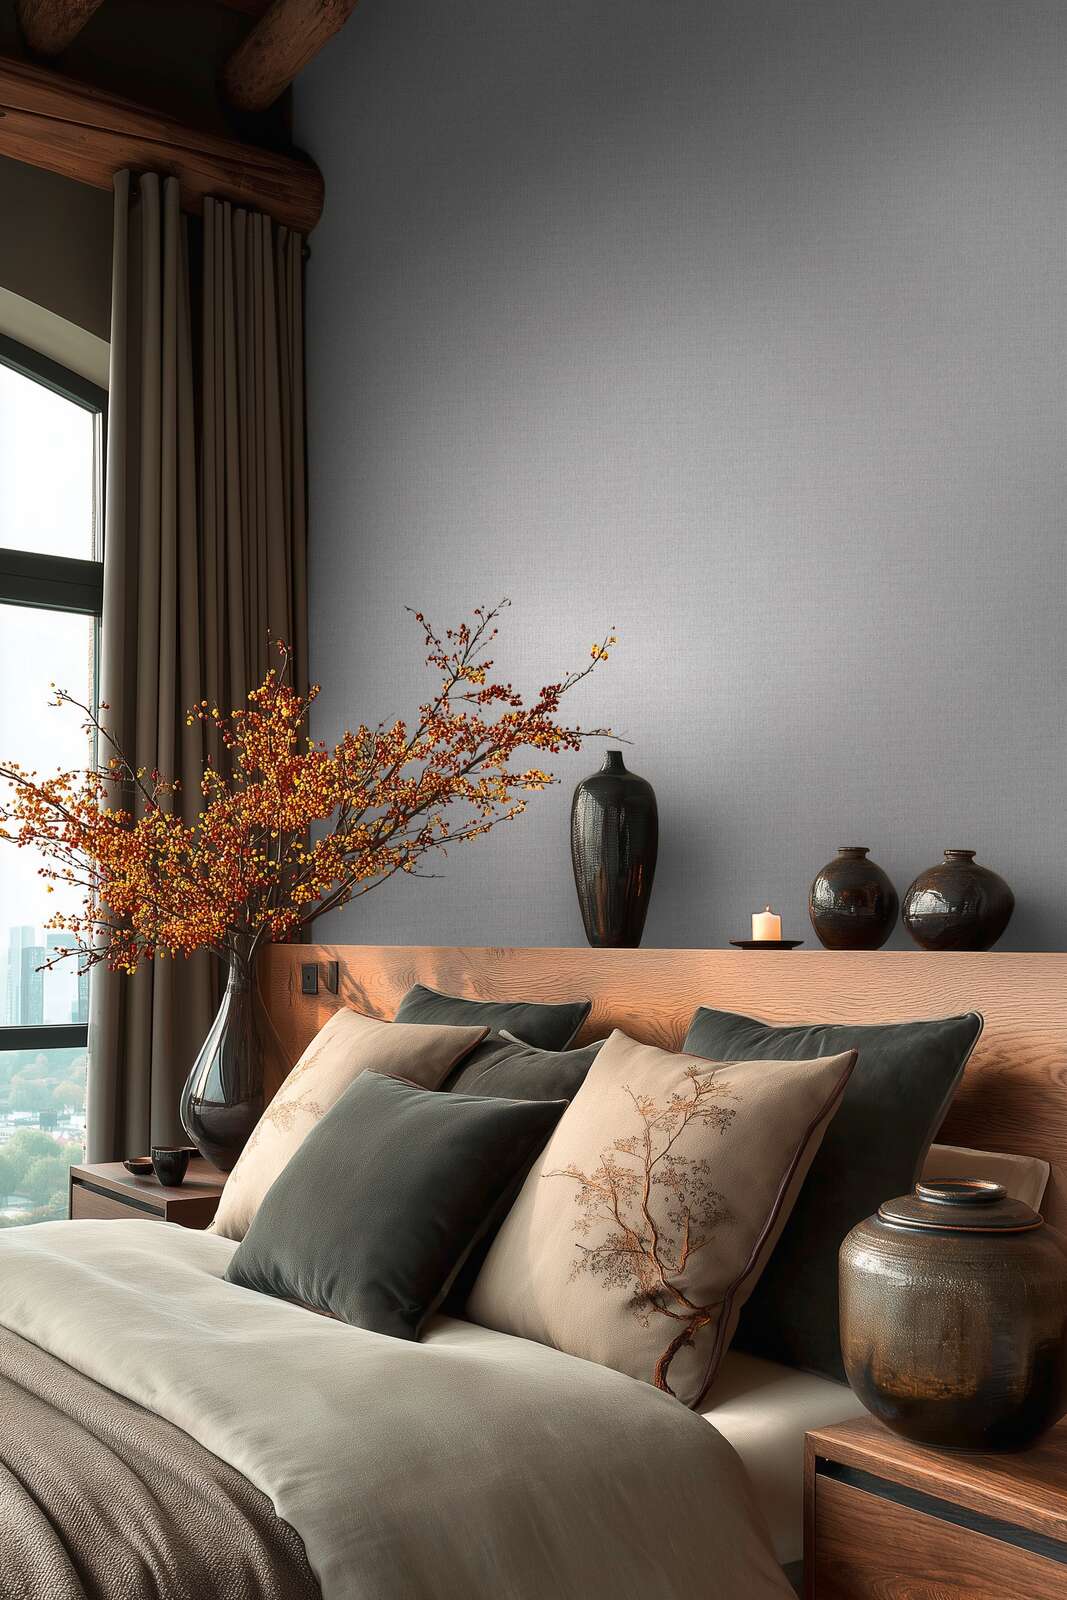
Dreaming of transforming your space with stunning wallpaper but intimidated by the installation process? Achieving a truly flawless finish requires attention to detail and a few expert techniques. Many people underestimate the nuances involved, from preparing the surface to aligning intricate patterns, which leads to frustration and less-than-perfect results. Here is how to tackle your project with confidence.
Clean and repair first. Remove dust, dirt and grease with a mild detergent solution, rinse with clean water and let the wall dry completely. Walls previously painted with gloss or semi-gloss benefit from a light sanding so primer and adhesive can grip. Fill small holes and cracks with spackling paste and sand smooth once dry; use a patching compound for larger imperfections. Every bump or dip will be magnified once the paper is up.
Priming is non-negotiable. A quality wallpaper primer seals porous surfaces so adhesive is not absorbed too quickly, creates a consistent texture that lets strips slide into position for easier pattern matching, and makes future removal far less damaging to your wall. Apply one to two coats per the manufacturer's instructions, allowing proper drying time between them. You will find the tools and materials you need in our Wallpaper & Panel Installation Accessories Australia.
Identify your pattern match type before cutting. A *random match* aligns no matter how strips are positioned, so you can cut consecutively. A *straight match* aligns across strips at the same height. A *drop match* — the most complex — alternates strips down or up a set distance, usually meaning a longer repeat and more waste, so factor that into your calculations. Dry-hang or lay out strips on the floor first to visualise the flow. See our Guide to Premium Wallpaper Materials | Tehila Maison for choosing the right type.
Achieving invisible seams. For heavier wallpapers, some installers overlap strips by 1-2 cm then double-cut through both layers with a sharp knife and straight edge to create a perfect butt joint. For most modern non-woven papers, aim for a clean butt joint with edges meeting precisely and no overlap. After aligning each strip, run a seam roller gently along the join to maximise edge adhesion — do not press too hard, and wipe away excess adhesive immediately with a damp sponge.
Inside corners. Never wrap a single piece fully around an inside corner. Measure from the last strip to the corner, add 1-2 cm, cut to that width, apply and press into the corner so the excess wraps slightly onto the adjacent wall, creasing it with a smoothing tool. On the new wall, hang your next strip overlapping that edge and hanging straight, then double-cut through both layers exactly in the corner and peel away the excess for a perfect seam.
Outside corners. Again, avoid wrapping one piece fully. Extend the paper around the corner by roughly 1-2 cm, making small relief cuts into the overlap if needed to help it lie flat. Hang the next strip directly over the overlap, aligned vertically, then double-cut through both layers with a straight edge and sharp blade for a clean finish.
Outlets, switches and trimming. Turn off power at the circuit breaker and remove faceplates. Apply the wallpaper over the opening, smooth it down, then cut an "X" from corner to corner and trim around the box just inside the edge so the faceplate covers the cut. For ceiling, floor and window trims, press a wide smoothing tool or metal straight edge firmly into the corner and cut along it with a brand-new blade — change blades frequently, because a dull one tears the paper.
Air bubbles. During installation, work from the centre of each strip outward with a smoothing tool to push air toward the edges. Small bubbles appearing after drying can often be pushed out by hand. For persistent ones, make a fine slit in the centre with a needle or sharp blade, ease the air out, and for larger bubbles inject a little adhesive with a syringe before smoothing. Give the wall 24-48 hours before chasing every tiny imperfection, as some disappear as the paper dries.
Lifting seams and paste bleed. Lifting usually means insufficient adhesive at the edge, poor preparation or a dry room. Peel back the loose edge, apply seam adhesive to both the paper and wall, and press firmly with a seam roller, wiping away excess. For stubborn lifts, low heat from a hairdryer kept moving can reactivate the adhesive. For paste bleed, apply adhesive evenly without overloading edges, keep clean damp sponges to hand, wipe gently rather than rubbing, and change your water frequently.
How many rolls? Measure each wall's height and width, multiply for square metres, total them, then divide by the coverage of one roll. Add 10-15% — or one extra roll — for pattern repeats and wastage, and use our Wallpaper Calculator to check. Most adhesives take 24-48 hours to fully cure, so hold off on final trims and switch plates until then. If you would rather not DIY, our Recommended Installers | Wallpapers & Panels Australia can help, and our Free Design Consultation Australia | Tehila Maison is there if you are still choosing a design.