
DIY
DIY Wallpaper Installation: A Step-by-Step Guide
The Tehila Maison Team · February 28, 2026 · 10 min read
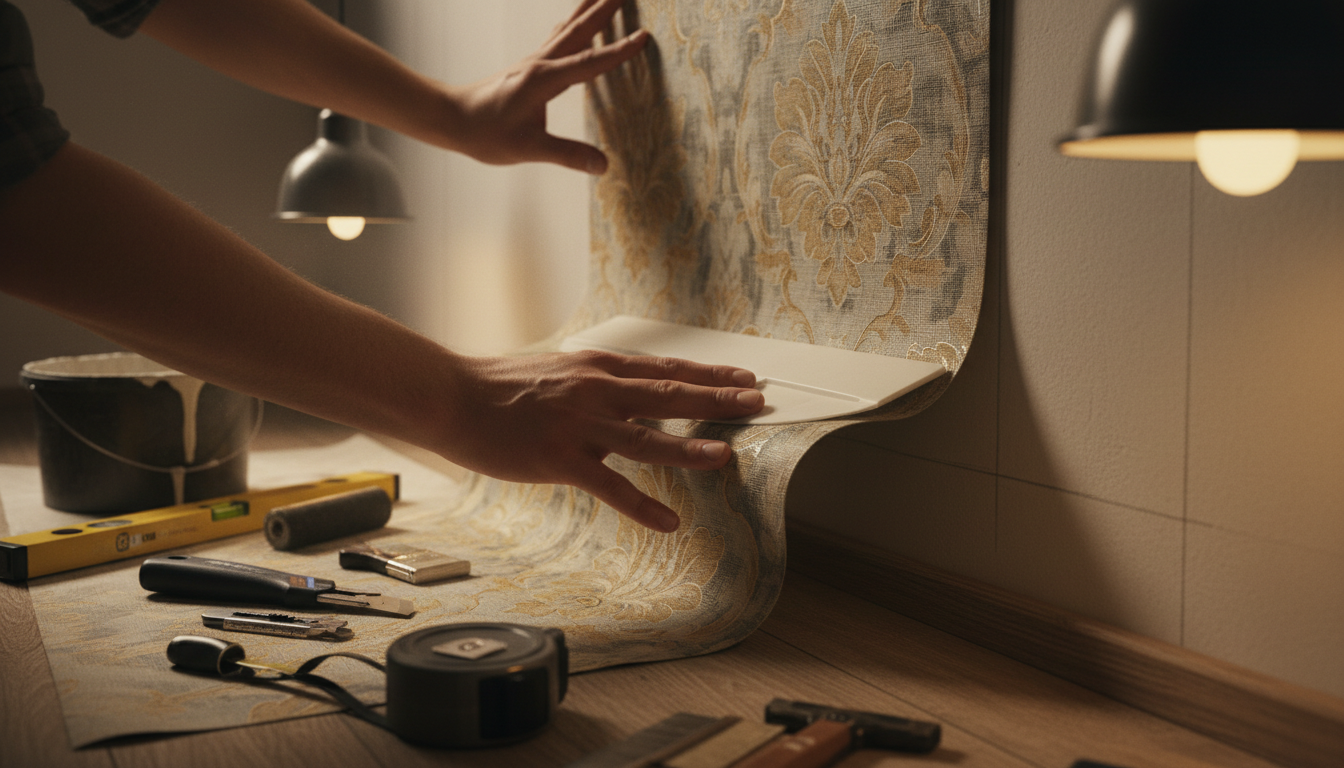
There's something deeply satisfying about transforming a room with your own hands, and wallpaper installation is one of those home improvement projects that delivers dramatic results with a manageable learning curve. Whether you're a first-timer or a seasoned DIY enthusiast, this guide will walk you through every step of the process - from preparation to that final, satisfying smoothing of the last strip.
Step 1: Gather Your Tools - Before you unroll a single sheet, make sure you have everything you need. You'll want a wallpaper paste and brush (unless you're using peel-and-stick), a sharp utility knife with spare blades, a smoothing tool or wallpaper brush, a spirit level, a tape measure, a pencil, a seam roller, a sponge, and a step ladder. Having everything within arm's reach before you start will save you from sticky-handed trips to the hardware store mid-project.
Step 2: Prepare Your Walls - This is the step most DIYers rush through, and it's the one that matters most. Your walls need to be clean, dry, smooth, and primed. Fill any holes or cracks with filler and sand them flush. Remove any old wallpaper completely - never paper over existing wallpaper, as it will bubble and peel. Apply a coat of wallpaper primer or sizing, which creates a slightly tacky surface that helps the paste adhere and makes future removal easier. Let it dry completely - usually overnight.
Step 3: Measure and Cut - Measure the height of your wall and add 10 centimetres (5cm top and bottom) for trimming. Roll out your wallpaper face-down on a clean, flat surface and cut your first strip. If your wallpaper has a pattern repeat, you'll need to account for this when cutting subsequent strips - align the pattern before cutting, and label each strip on the back with a pencil to keep track of the order.
Step 4: Establish a Plumb Line - Don't trust your walls to be perfectly straight - they rarely are. Using a spirit level, draw a vertical plumb line on the wall where you'll hang your first strip. This ensures your wallpaper goes up perfectly vertical, even if the wall or ceiling line is slightly off. Start near a corner but not in the corner itself - about 50cm from the corner is ideal.
Step 5: Apply Paste and Hang - If you're using traditional paste-the-paper wallpaper, apply paste evenly to the back of the strip, then "book" it - fold the pasted sides together without creasing - and let it soak for the time specified on the packaging (usually 3–5 minutes). If you're using paste-the-wall wallpaper (which we recommend for beginners), simply roll paste directly onto the wall. Align the top of the strip with your plumb line, leaving the 5cm overlap at the ceiling, and smooth it down from the centre outward using your smoothing tool, pushing out any air bubbles as you go.
Step 6: Trim and Repeat - Once the strip is in position, use the back of your utility knife or a plastic smoother to press the wallpaper firmly into the junction between wall and ceiling (and wall and skirting board). Then, using a sharp blade, trim the excess. Change your blade frequently - a dull blade will tear wet wallpaper. Hang subsequent strips by butting them edge-to-edge against the previous strip, matching the pattern as you go. Use a seam roller to gently press the seams flat.
Step 7: Tackle Corners and Obstacles - Corners are the trickiest part. Never try to wrap a full strip around a corner - the paper will wrinkle and pull away. Instead, measure from the last strip to the corner, add 2cm, and cut a strip to that width. Hang it, wrapping the 2cm around the corner. Then establish a new plumb line on the adjacent wall and hang the next strip overlapping the wrapped edge. For power points and light switches, turn off the electricity, remove the cover plate, and cut an X in the wallpaper over the fitting, trimming the flaps neatly.
Common Mistakes to Avoid - Don't rush the wall preparation. Don't use too much paste (it causes bubbles) or too little (it causes peeling). Don't stretch the wallpaper while hanging - it will shrink as it dries and leave gaps at the seams. And don't panic if you see small bubbles after hanging - most will disappear as the paste dries over 24–48 hours.
Pro Tips from Our Team - Work in a well-lit room so you can spot imperfections as you go. Keep a damp sponge handy to wipe away any paste that gets on the face of the wallpaper. If you're working with a bold pattern, start on the most prominent wall and work outward - any pattern mismatch will end up in the least visible corner. And finally, order 10–15% more wallpaper than your measurements suggest, to account for pattern matching and mistakes.
With patience and the right preparation, DIY wallpaper installation is absolutely achievable - and the results are transformative. If you need any advice on choosing the right wallpaper for your project, our team at The Tehila Maison is always here to help.